Tinted Beeswax Tutorial
Posted by Carolyn Moore on
Hi everyone!
Today I wanted to share with you how easy it is to add age and character to painted piece using our Sweet Pickins Tinted Beeswax Finishes. Like our clear wax these wonderful, soft waxes are made of all natural ingredients, are VOC free and is hand poured using the best ingredients on the market. (They also have a wonderful citrusy fragrance :). They come in either Black or Dark for an aged, antique look, or White for a "limewashed" finish.
Today I am showing you how I worked with the Dark tinted wax on a pair of milk painted Candlesticks, but the process is exactly the same for all our Tinted waxes and our Clear Beeswax Finish as well.


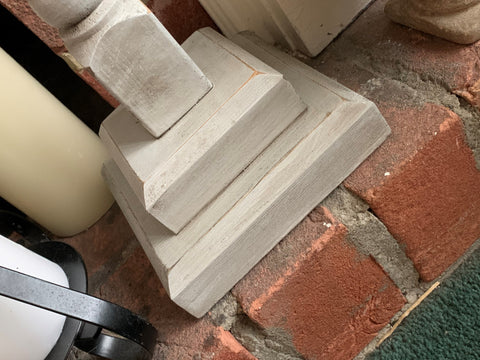
The candlesticks are made from brand new pine, so first of all I painted the candlesticks with our Old Fashioned Milk Paint in Mercantile. As you can see from the pictures, in its natural form, Mercantile is a lovely pale dove grey. I do love this colour, but it is prett, clean and bright grey, and I felt these candlesticks would look better with a more aged effect. Also, when I distressed the edges, the light pine was showing through, not a look I wanted. (You can also remedy this by staining the wood darker before painting, or putting a wood coloured milk paint such as Driftwood or Chocolate underneath as a base coat, but as I was going to use the Dark Wax, I didn't bother).
I decided on the Dark wax rather than the black - I didn't want them too dark. I also decided to glaze the whole candlistick with the wax, but you can just use it in the corners, crevices and distressed areas, or wherever the bare wood it showing if you prefer.

So, first of all I brushed a thin coat of wax all over. (Unlike some beeswax on the market, our waxes are soft and slow drying, so can be easily applied with a brush which is best for really getting into the nooks and crannies, and this also gives you plenty of time to work with the wax. This is really helpful with the tinted waxes as it allows you to dilute or remove some of the tint if you decide you want less). At this it is a lot darker at this stage, and will lighten up quite a lot when you buff it off, so don't panic too much! Once I had applied it all over, I left it for five minutes, then wiped it allover with a clean lint free cloth to remove the excess. I did have to rub quite hard in places, and really push the cloth into the grooves and crevices where the wax had lodged, but of course, some remains which is exactly what I wanted! Once the excess wax was removed, I turned the cloth over and continued buffing with a clean part of the to buff it to a slight sheen.

The candlesticks then felt dry to the touch, but in reality it will take a couple of days to thoroughly dry, during which time you can still manipulate them a little. For example, if at this stage I had felt there was too much tint, I could have wiped most of it off with a lint free cloth sooked white spirit).
If I had wanted more sheen but no more tint, I could have then applied a coat of clear wax, but I thought they looked just right, so I didn't! Similarly, you can reduce the effect of the tine by applying our Clear beewax first, buffing off, then applying a coat of tinted wax.
Other Tips:
- A little wax goes a long way and you only need a very thin coat. A small pot of wax will last you through many projects.
- Clean your brushes with white spirit.
- If your piece gets scratched, simply apply a small amount of wax on that part and rebuff.
This wax really is so easy to use to get beautiful results. I hope you agree!